If you want to keep your boat looking as good as new but it’s in need of a facelift, few things will put on a fresh shine like a new coat of paint. But if you’ve done any research you may have already found that learning how to paint a fiberglass boat is not as straightforward as one might hope. There are a slew of paint types to choose from, very specific prep to do, and plenty of work ahead. In fact, whether you’re painting the entire craft or just putting on bottom paint, like any other form of maintenance or improvement, dealing with a fiberglass boat is very different from caring for a wooden boat or an aluminum boat. Ready to dig into the specifics?
Paints for Different Parts of a Boat
Your first choice will be paint selection based on which part of the boat you’ll be painting. Fiberglass boat hull paint used below the waterline usually has antifouling properties, while the paint used above the waterline is purely for protecting the fiberglass while looking nice and shiny. And then there are special paints used for surfaces you’ll walk on, as well.
Choosing antifouling fiberglass boat hull paint
Any boat that will sit in a wet slip needs bottom paint that’s antifouling. (If your boat sits in a lift or on a trailer, you can treat the bottom just as you do the hull above the waterline and skip to the next section). Antifouling paint uses a biocide to prevent growth from latching on, which can be cuprous oxide, zinc omadine, zinc pyrithione, thiocyanate, or Econia. However, some biocides are banned in certain areas and different formulations and concentrations may be more or less effective from one locality to another due to the localized environment. There’s no chart or table that can tell you what works best in your neck of the woods—your best bet is to ask around at nearby marinas, boat yards, and marine supply stores, and find out what the locals all use.
Then, you’ll have to choose between “hard” or “soft” paint formulations. Which will be best for you depends on your boat and how you use it. Boats that run at fast speeds and are used often generally perform best with a hard (non-sloughing) paint. The downside here is that after a few coats of paint go on through the years, the bottom will need to be stripped because of paint build-up. Soft (ablative) paints, on the other hand, wear away with time and use, and are best for boats that don’t travel over 35 or so mph on a regular basis.
There’s one caveat to keep in mind: ablative paints can be rubbed away when they contact a hard surface, so if you trailer your boat from time to time, hard paint may be a better bet no matter how fast nor how often the boat is used. Otherwise, your bottom paint will probably get rubbed off by the trailer bunks.
See our guide on how to antifoul a boat.
Choosing boat paint for above the waterline
Above the waterline, you’ll be choosing between one-part or two-part polyurethane, enamels, and two-part acrylics. One-part polyurethanes are the easiest to work with, and the least expensive. If you’re looking to do a simple job and intend on painting fiberglass with a roller, it’s a great option. Two-part polyurethanes require more cost, prep time, mixing, and curing, and some must be sprayed as opposed to rolled on. However, they’re harder once cured so they tend to maintain their shine for longer and resist scratches better.
Acrylic urethane provides what many consider to be the finest, glossiest surface. However, its use has very specific requirements and repainting a fiberglass boat with this stuff is generally left to the professionals.
Enamels are easy to work with and can be brushed on, plus they’re less expensive than these other options. However, they don’t provide as glossy a surface nor last as long. Enamels are more often used on wood boats as opposed to fiberglass, since they can handle the shrinking and swelling of wood. If your boat is fiberglass, enamels will probably be considered only for inside the cabin or on wood trim.

Painting the Bottom of a Boat
Like most paint jobs, the secret to getting good results from your bottom paint is in doing good prep work. If there’s existing bottom paint in good shape you may be able to skip right to sanding, but if pre-existing paint is flaking and aged, first you’ll need to scrape and/or strip away the old stuff. If you’re unsure whether you need to go the extra mile or not, it’s a good idea to start by removing dirt, growth, and loose patches with a power washer and see how much paint flies off as you clean it. Note: paint stripper is dangerous stuff, so if a complete stripping job is necessary, be sure to read the manufacturer’s instructions thoroughly and follow them to a tee.
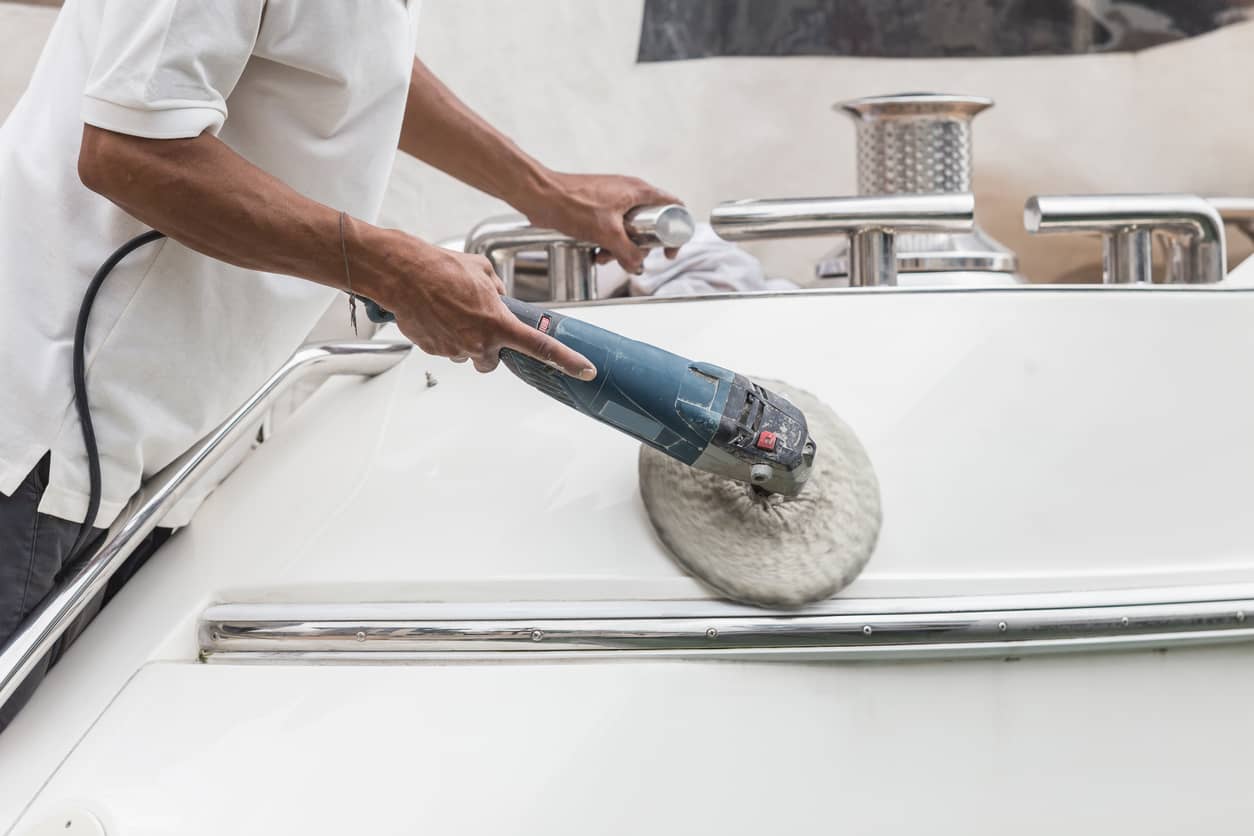
When all loose or aged paint is gone you’ll need to start sanding. Fortunately, there’s nothing special to learn when it comes to how to sand a fiberglass boat—it’s more or less like sanding any other surface. You should use power tools except for those few hard-to-reach surfaces you have to hit by hand. It’s also important to use a respirator, goggles, and a protective suit unless you think fiberglass dust is fun stuff to play with (it is not). In fact, sanding a fiberglass boat can be quite unpleasant and harmful to your health if you don’t thoroughly protect yourself.
When the surface is prepped, it’s time to mask off the borders of the waterline, transducers, running gear, and other items that you don’t want covered in paint. Then and only then can you begin applying the bottom paint. Follow the manufacturer’s instructions regarding roller or brush types, the thickness of each coat, and the number of coats to apply.
Painting a Fiberglass Boat Hull Above the Waterline
The prep and application will vary depending on which type of paint you choose. The manufacturer’s instructions should always be read and followed exactly, especially regarding primers and coats. That said, the basic procedures are more or less the same: first clean the surface thoroughly, remove any stains, and fill in any chips or scratches. Then mask off the waterline, rubrail, and any surfaces that aren’t to be painted. Sand thoroughly as per the manufacturer’s recommendations, then clean off all the dust. Finally, use a solvent and clean rags to wipe away all contaminants.
As for the actual application, again, go to the manufacturer’s instructions because different primers and paints have different requirements. The most common way to apply fiberglass boat hull paint above the waterline will be “brush and roll,” where one person rolls on the paint and another follows with a brush to even out the edges and overlaps. But check and check again before you get started.
Painting the Deck of a Boat
Painting the deck of a boat has one special consideration: you need to choose a paint with nonskid properties. Otherwise, you’ll turn the deck of your boat into a skating rink. Beyond that, the only other really critical item to keep in mind is that you’ll want to carefully mask off all items and surfaces that aren’t to be painted, because any errant paint that gets on trim or accessories will be in full view each and every time you’re on your boat.
Note: if your boat has molded-in nonskid, there really isn’t any good way to paint it while maintaining its look and feel. In most cases, you’re better served by covering it up with nonskid foam decking or having the decks professionally refinished.

Painting Inside a Boat Cabin
Painting a fiberglass boat interior will vary quite a bit from boat to boat, since they all have very different interiors. If your boat has a gel-coated fiberglass liner in the cabin, you can treat it exactly as you would the hull above the waterline. Since it isn’t exposed to the sun, however, using a complex, time-consuming, and expensive two-part paint probably isn’t necessary.
If your boat’s cabin has a different type of interior you’ll need to choose a paint and method accordingly. Again, however, remember that surfaces inside the enclosure aren’t subjected to the same level of UV radiation and weathering as the boat’s outside surfaces and special paints or applications generally aren’t necessary.
Boat Painting Tips
Whew—we’ve covered a lot! But there are still more ins and outs to painting a boat. So we assembled this collection of helpful tips that will hopefully make the job go a bit smoother for you.
- Pull away the tape you used to protect items or mask off borders while the paint is still wet. This stuff sets up hard, and if you wait too long bits of the tape will rip off and remain embedded in the paint.
- It’s always best to have paints shaken on a machine, as opposed to trying to stir them.
- If at all possible, try to paint your boat under cover. If this isn’t in the cards, wait for dew to evaporate before beginning the job and check the weather to make sure there’s no rain in the forecast.
- Remember that two-part polyurethanes cannot be painted over one-part polyurethanes—but they can be painted over pre-existing two-part polyurethanes. One-part polyurethanes can be painted over either one-part or two-part polyurethanes.
- Whenever you’re painting over fresh fiberglass, it must be thoroughly de-waxed. Just to be safe, de-waxing twice is recommended.
- Work on filling in scratches, dings, and chips prior to painting. Fresh paint won’t cover those up, and in some cases, may even make them easier to see.
- Always check temperature and humidity levels before getting to work, and make sure they’re within the manufacturer’s recommended parameters.
- Once your new paint job is complete, give all the glossy surface a thorough wax job and keep up with waxing the boat on a regular basis. A thick coat of wax will help protect the surface and keep it gleaming for years.
Now get out there and gather up plenty of sandpaper, rags, brushes, and rollers. Because anyone researching how to refinish a fiberglass boat will quickly land on a fresh paint job as one of the most impactful ways they can make that old boat look new again.
Related articles


